Amending a Registration
To amend a registration, you will first look up its registration statement in the system. Once open, you can then complete the request by following the steps below:
-
With the open, click the Request Amendment button, and the home screen appears.
-
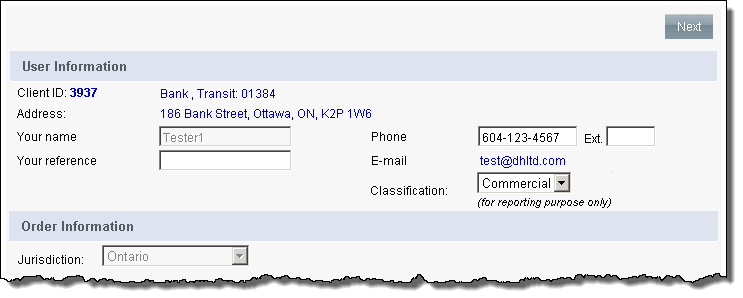
In the Your reference field of the User Information section, enter an internal reference number to identify the transaction. This reference number will appear on your billing reports and can be used to look up completed orders. The Classification dropdown is an optional feature to indicate if the transaction falls under "Commercial" or "Retail" (if your organization supports such classifications).
-
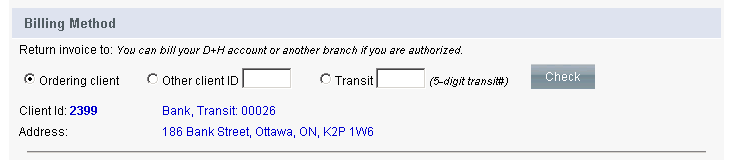
In the Billing Method section, select who the invoice is to be sent to. The options are as follows:
Ordering Client
Other Client ID* - to send the invoice to another client; enter the client ID and click the Check button to verify. The screen refreshes with the client information.
Transit* - to send the invoice to another transit; enter the transit number and click the Check button to verify. The screen refreshes with the transit information.
*this option may not be available depending on your system configuration
-
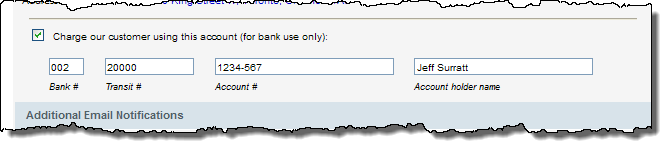
If your system is configured to charge the transaction to the customer, then you have the option to select (check) the Charge our customer using this account and complete the associated fields:
Bank #
Transit #
Account #
Account holder name
-
By default, the email listed in your user profile will be sent a notification when the request is completed and results available via CollateralGuard RC. In the Additional E-mail Notification(s) section you can enter additional email addresses that the notification should be sent to. If entering multiple addresses, separate them with a semi-colon with no spaces.

-
Click the Next button and the Change Statement screen appears for you to complete information not already pre-populated. Each section on the screen is described below.
-
After entering the information, click the Review Order button and the Registration Review Page appears for you to confirm and submit the order. For more information, see Reviewing and Submitting Registration Order.
Each section of the Change Statement screen is described below for you to complete the necessary information not already pre-populated. After entering the information, click the Review Order button and the Registration Review Page appears for you to confirm and submit the order. For more information, see Reviewing and Submitting Registration Order.
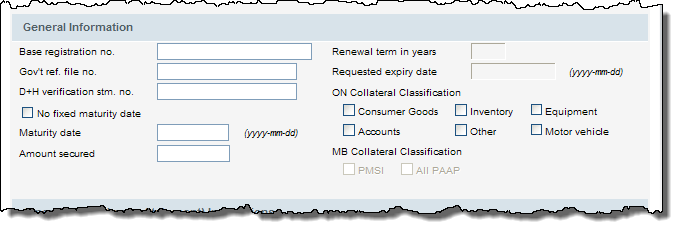
In the General Information section, the following fields are available:
Base registration number (excluding Ontario) - enter the existing registration number (if not already pre-populated)
Government reference file number (Ontario only) - enter the existing government reference file number (if not already pre-populated)
D+H verification statement number - enter a D+H verification statement number if available (if not already pre-populated)
Maturity Date (Ontario only) - the date the debt will be fully paid if every payment is made according to the original terms of the security agreement, (excluding any days of graces). There is also the option of selecting No fixed maturity date.
Amount Secured (Ontario only) - enter the amount that is secured or is intended to be secured under the original terms of the security agreement.
Renewal term in years (Alberta and Manitoba) - enter the numbers of years registration is to be renewed.
Requested expiry date (Manitoba and Quebec only) - enter the expiry date of the registration
ON Collateral Classification section - select the category of the collateral: Consumer Goods, Accounts, Inventory, Equipment, Motor Vehicle or Other.
MB Collateral Classification section (optional field) - select the category of the collateral: PMSI (Purchase Money Security Interest) and/or All PAAP (All Present and After Acquired Personal Property).
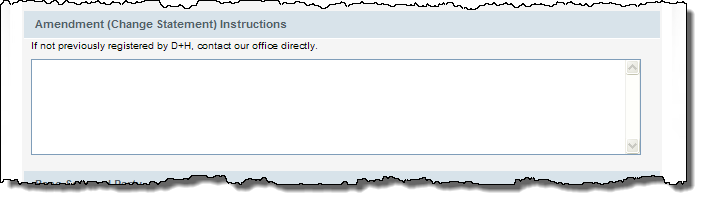
In the Amendment (Changed Statement Instructions) section, enter the amendments instructions as clearly as possible in the text box.
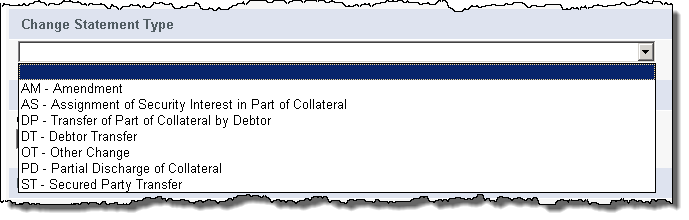
In the Change Statement Type section, select the pre-defined reason for the amendment. Note that the reasons are specific to the jurisdiction.
In the Base Secured Party section, enter the company name or individual name of the secured party (if not already pre-populated).

In the Base Debtor section, enter the company debtor name or individual debtor name (if not already pre-populated).
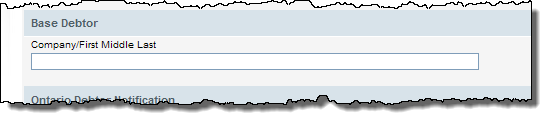
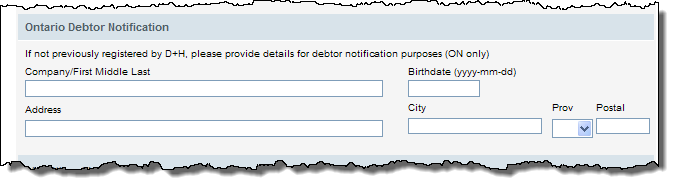
For an amendment in the province of Ontario that was not originally registered by D+H, complete the Ontario Debtor Notification section.
In the Special Instructions section, you can enter any extra information regarding the amendment.
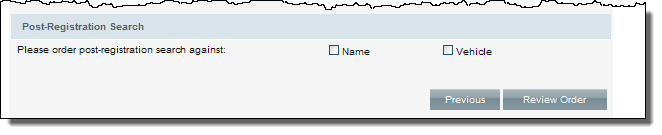
In the Post-Registration Search section, you can select to have a on the debtor and/or vehicle after a successful submission to the PPR.